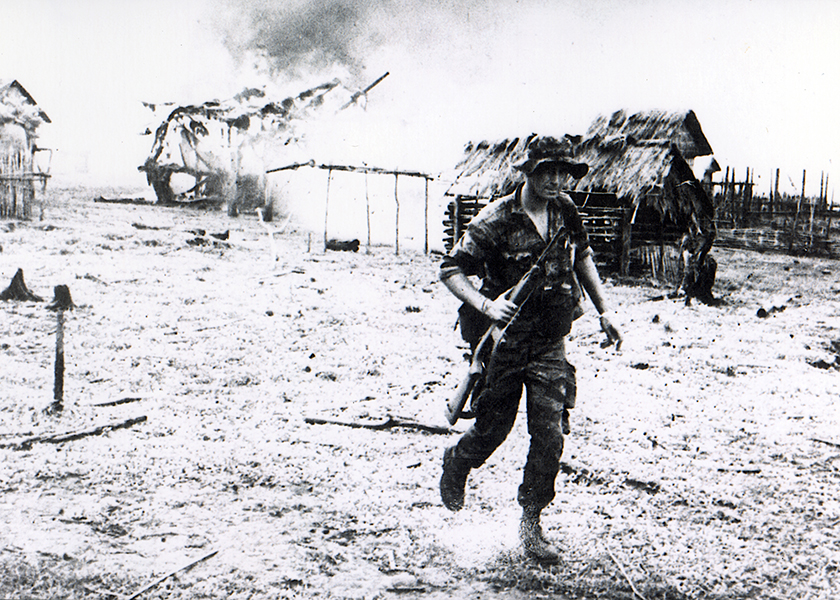
ca. 1966, Vietnam
Capt. Peter Bourne during the battle of Plei Beng, located in the central highlands of South Vietnam.
Courtesy of Peter G. Bourne, M.D.
| Information | ||
|---|---|---|
| File Type | jpg | |
| URL | https://www.apaf.org/getmedia/7c970965-4833-4a77-b294-c0ab4426449e/30-Battle-Plei-Beng.jpg | |
| Gallery | Military Psychiatry and Veterans Mental Health | |